E7 - Costing and Materials
Transcript:
Hey guys, welcome to a new episode.
So I wanted to make this available for everybody as a podcast. This is actually a module in my course, and the reason why I wanted to make it available is because I get a lot of questions on how to cost things.
For example, as a blank supplier, I serve a lot of different types of customers. So someone might like to craft just for a hobby. Someone might like to craft a business and they need to make a profit. Some people need a whole lot of corporate orders, for example, like a sports team. Someone wants branded bottles or something like that.
So I've learned how to cost it based on this kind of formula, I guess. The reason why I wanted to make it available for everybody is because there's no gatekeeping here. It's not rocket science, but I feel like a lot of people undercut themselves just to make a sale.
I wanted to be fair to the amount of time that you've put into this skill and also the amount of materials and all of that you bring in just to make the one item.
So in a long-winded way, I wanted to make this available for you guys.
So there is an accompanying worksheet, which is available. There'll be a link in the show notes on how to get that.
But with this episode, you can actually listen and watch without that sheet, it's just a reference point for you.
But again, if you want to get it, just click the link in the bio and I'll email it to you.
A lot of people in my course did say that they didn't consider costing things this way, so I do hope it helps.
Hey guys, we are back with this module on fundamentals. So, included in the workbook, which would've been emailed to you when you signed up for the course, is this costing and material worksheet, and I'm going to go through this now.
So this is fundamentals on when someone asks you, “okay, I want this bottle. How much?”
We have to make sure that we account for every single cost that you are going to encounter so that you can add a healthy margin, so you can make money because we're not in this to do it for free.
We love crafting, yes, we do, but we're not doing it for free. It's expensive to buy materials to learn when you make mistakes, et cetera.
Use this worksheet, and you might only need to do it once or twice, but once you do it, it'll be like a calculator in your head and you'll know exactly what to do for the next product that you bring in.
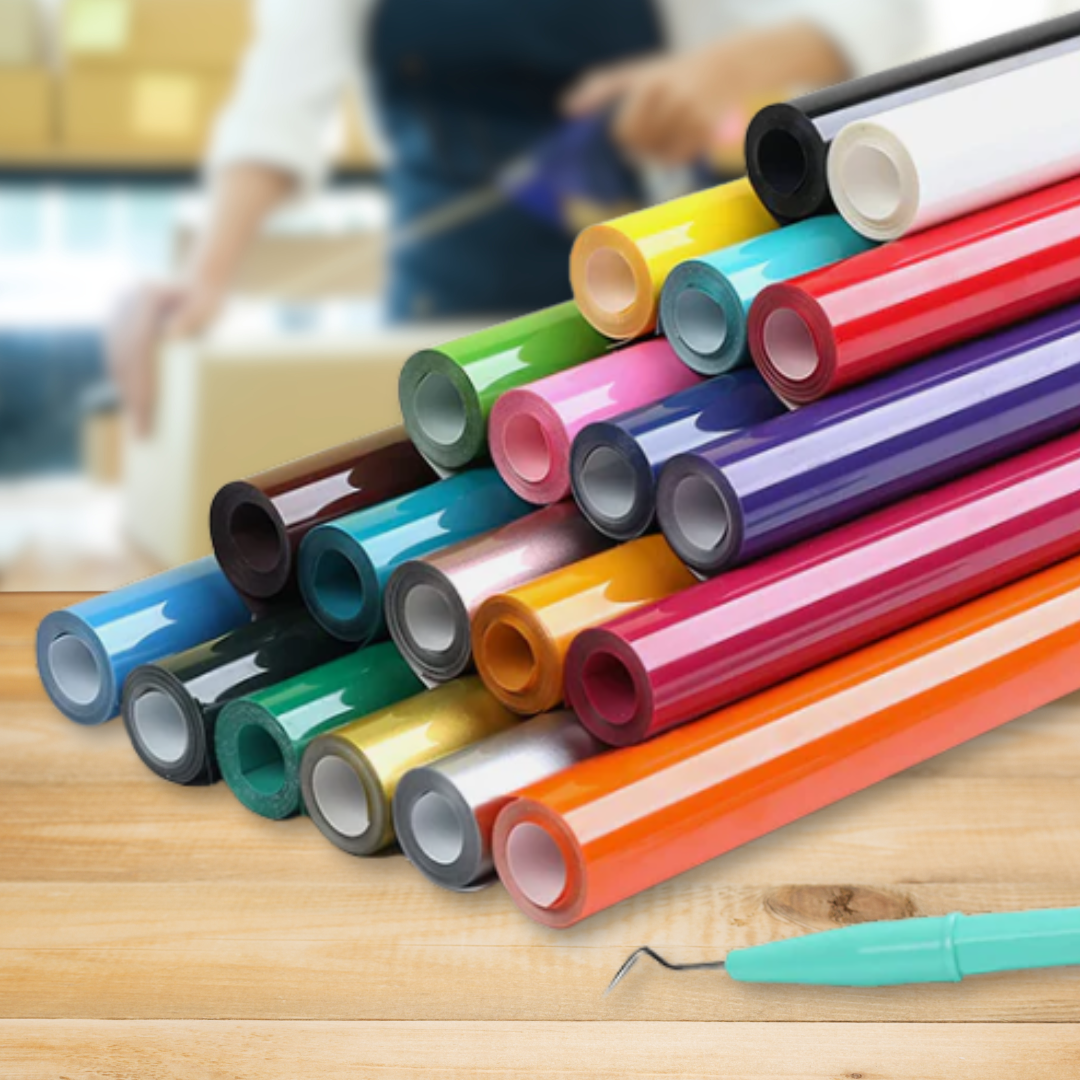
Figure out what tools you need. You need a weeder, you need a ruler, you need a vinyl slicer (maybe you need scissors, for example), you need a brayer, which is the flattening thing for your mat. You need vinyl and you need your machine.
Now, if you're doing a t-shirt, you might need a heat press, you might need transfer tape, for example, permanent, all of that.
You need alcohol wipes. You need paper towel to wipe down your surface before you adhere your perm vinyl. You need all of that, so brainstorm every single thing along your process, and once you've done a couple, you'll know what you need.
Add all your tools here.
The next step here is to figure out your design or figure out your font. Now choose the fonts that you find easiest to work with and figure out whether you can do them at speed because another cost is time, and we'll get to that in a second.
See here, this image? Now I'm gonna give you the names of these fonts, but this one is Rainbow Goldie or Goldie Rainbow, I can't remember. It's a free font.
This one is called Emma Retro, I think it's called. I'll send you the name of this .
This one is called Bordini, and this one is called Minoline, and one of them is called Love Lion.
Most of these are cursive, right? Because when you cut it in vinyl, it cuts as one piece, so then it makes the decal longer lasting and the longevity of the decal and the risk of it lifting and stuff like that is less because it's in one piece. It has more to stand up.
The reason why most of these are cursive is because when you are using a block font, I found, and especially if you're putting it on a curved surface like a bottle, it's more obvious when it's not straight when it's a block font like this.
When it's a cursive, even if it's slightly off, it doesn't matter. No one will know because it looks like part of it. So it's a lot more forgiving, which is why I use cursive most of the time anyway.
Now once you've done this, all these fonts are free, so I'm happy to send you those. Install them into your computer or your iPad and your iPhone, if you're using them to cut, but also upload them into Canva and start an image like this.
So Canva is a free tool. Now, I always use names. So these are my kids' names and my family names. But some people just do font one, font two, font three, font four, et cetera.
I just find it a lot more memorable when they say, “okay, I want Jaden Font, or I want Christopher Font, et cetera.” It also shows in real life what the font will look like ‘cause every name looks different.
So once you've uploaded that into Canva, write down each of these names or font names, or whatever you want to call them. Export out this image as a JPEG, and send it to your phone and keep it as a favourite in your phone.
Now on iPhone, you can press the heart button and it becomes a favourite. Otherwise, save it on your phone in an album or something like that, somewhere where you can easily get to it quickly, because when a customer messages you, and especially on Facebook Marketplace and that type of thing, you want to have this handy.
Also, customers want an option to choose from, and you don't want to get stuck trying to generate a mock up for each customer.
So say you have 10 customers and each of them want a bottle, you don't have time to message 10 customers with what their name will look like, so this is a quicker way to save some of that time.
Figure out what blanks you need. So is it the Officeworks Cup? Is it a Santa Sack for me, or is it – I don't know, a drawstring bag from someone else or something that you bought off Amazon? Figure out whatever blank it is and add that cost in this box.
Suppliers – so again, if you can have a local supplier, that's great, but if you can't, that's okay, just factor in the transit time.
So when you get an order for a bottle, you know that you need, like, rose gold vinyl for example (say that's gonna be the colour). You need rose gold, you need alcohol wipes, and you need paper, what is it called? —
So say, you are low on rose gold vinyl. “Crap, where am I going to get the rose gold vinyl? For me, I know I can go to my local supplier, but say they don't need it for a month, then great, ship it from somewhere else if it's a little bit cheaper and can save you some money.
Now's the time to order it so that it is in time for when your customer is ready to pick up their order.
Now the costing bit – add all of the costs from all this stuff. So if you already have your weeder, your ruler, your vinyl slicers/scissors, your brayer, and your vinyl, you don't need to put any costs in here. But you do need to include the cost of blanks and any postage.
Say for example, you're buying something off Amazon and you need it tomorrow, so Amazon Prime is great for that. Factor in the Amazon Prime membership into your costing.
So if you order 10 times from Amazon, and I can't remember how much it is, $10 a month or something, that's a dollar that you need to add onto each order when you're costing it.
Now the next bit is really hard, the power to run your machine. I mean that's really hard. I haven't done the calculation, but I know in the Cricut for Australians Facebook Group, someone did a calculation based on minute by minute.
So how many minutes does it take to cut a 10 centimetre decal versus a 20 centimetre decal, and how many minutes does it take to hit press something on.
Again, I don't have those numbers, but if you look up the Facebook Group, Cricut for Australians, you'll be able to find that number in there, add that cost.
Next step is packaging – cellophane bags, like carry bags when a customer comes to pick up all of that. If I'm a big user, and also a big advocate of recycling a lot of this packaging.
So when you get a package from somewhere and they shipped it in bubble wrap, save that, save the rubber wrap, save the brown craft paper, save the bags, save any kind of sealed air — all of that.
I've saved so much money by reusing some of that, I even put out a message on my local community group – Kellyville is my area, so Kellyville community group, and I’d say, “has anyone got any bubble wrap that they're getting rid of?” Because chances are someone's moved house or something, they had to wrap their whole fridge in it or whatever, and literally it's going to go into the, into the dump.
So if you take that stuff that you can use, that's not going to cost you. But if you do have packaging, say for example, I buy the brown bags with the handle for any customers that are coming to pick up from my house or the warehouse – include that cost in.
Include the thank you cards and the stickers. So on my Instagram and my TikTok, there is a reel on how to print cards at home. Buying a ream of paper, which probably costs you $20 from Officeworks (less than that), which is card stock, and how to print it using an existing paper and then using a slicer to cut them.
So that's cheap to do. If you have some funds and you wanna invest in it, then obviously someone like Vistaprint or even going to Kmart and printing the 10 cent photos, that's really good.
You can do your design up again in Canva, but try to keep those costs down right when you're thinking about your MVP and your minimum viable product. Let's be really lean on this.
Thank you cards – so if you are in the rose gold tier of my course, you're gonna get a kit sent out to you, which is like a toolkit. So in that toolkit, you'll have thank you cards and you'll have the stickers so you can see them here – a roll like this.
This is about the size of a dollar piece. A roll like this is 500 stickers and I think it almost costs like $5 or something like that, and you can get that cheaper if you want to wait for it to ship from China or wherever it is.
Thank you stickers and thank you cards are really, really important, and people don't underestimate that. People really appreciate the handwritten note and you know, a code if you want to put it on there to use on your website for next time or something that is really a message between you and them.
Often when a new order comes into my store and my store tells me it's the first time that they've ordered, I will often write in my card, “oh my God, I'm so glad that you've decided to order with me. I know this is your first order. I'm so honoured.” You know, that type of thing.
A message like that really, really goes a long way. So have your thank you cards and have your stickers ready to go, but include that as part of your costing.
So after all of that then from there, you should have some sort of total. When you have that total, think about how long it takes you to make the item.
Perfect example is it used to take me 15 minutes to cut and then to weed out, and then put it on a bottle. I've now gone that down to five minutes because I learned how to reverse weed. Times that cost by three, and I'll tell you why in a second, but do some research on Facebook Marketplace or Etsy, or even just Googling to figure out how much other people are charging.
Is the amount that you reached similar to that? I know that there's a local lady that is selling decal bottles, and I know that they're from Kmart, so it probably only costs her like $2 or $3 to buy them, but she sells them for $15, which is fine. Maybe she bundles it and she makes five in a row, so it's not so time consuming.
But if you were following this and you decided, okay, say the bottle costs you $3 and the vinyl costs you a dollar, and then you times it by three and you end up at $15, are you really making money? It has to be worth your time. The total amount you are thinking of charging minus the costs that it takes should work out to an hourly rate.
So say, for example, it costs you $9 to make a personalised drink bottle and it takes you 30 minutes to design, cut, weed, and add on the transfer tape, add it onto the bottle, and then package the item. 30 minutes is probably a bit less. Actually, yesterday, it took me 45 minutes to make two bottles, so this means you can make two in an hour, based on 30 minutes.
This would mean my hourly rate is $36. Is that worth it? You think about a retail person – I think that the going rate and the standard government rate is like $25 an hour or $20 an hour, for example. So they get $25 an hour to serve customers, stock shelves, that type of thing.
This is something that you probably spend hours trying to figure out the best way to make this item. So is $36 accurate? Is that a real reflection of how much you should be selling it? For me it wasn't.
So then I think about how I need to bring this cost down. So I do this by revisiting the time that it takes me to make this bottle, the cost of the blank, what my competitors are selling it at, and if I'm happy to take times two instead of time three.
But now I know with reverse weeding, it cuts it down. So it only takes me five to ten minutes to do it, add on another five minutes to write the card and to package it, et cetera.
So with reverse weeding, it now takes me 10 to 15 minutes from start to finish, so then I can fit four or even six bottles an hour.
Think about everything that you're doing and think about how else you can do it to bring the price down and make it more competitive. So the example of the soccer team with the 30 cups, I was able to do start and finish, I think it was like two hours.
So I did, I broke it up into different stages. The first stage was importing, copy-pasting all the names into Cricut Design Space and doing all the fonts, sizing them, welding them, and then that took me one night, so it probably took me an hour. I broke that up. So that's the previous day.
Then the next day, while the kids were running around, I sent it off to cut, and I test cut it and make sure that it cut completely, then I left it for the next day. Then it was – I remember it because it was a Saturday morning – Merv could say that I was really stressed so he took the kids out for two hours because Chris was still breastfeeding.
So we knew that that was the longest time that he would last. But I got them all done. I had them all reverse weeded, I had them all adhered on with the transfer tape and packaged with a card inside in those two hours.
So I charged that customer $20 (I think it was $20 a mug) and with Officeworks, it cost me $5 per mug, so I didn't do that calculation. But say for example, $25 minus five and then say minus $2 for vinyl, transportation, et cetera, that's $18. So $18 times 30, I made $540. So that took me, say, three hours. So it's $180 an hour. Shit. I'm impressed with myself.
Is that right? Isn't my Math right? Hopefully my Math is right, but you get what I'm trying to say, right?
How do we optimise and we will work on getting bigger orders later as you build your community, people start messaging you with inbound inquiries saying, “I want this” and “how do you make this and –” We'll work on that through our social media strategy, but we have to get our costing right. So go through this process.
Now I know when I launch a new product, it's like automatic, “okay, it's going to cost this, this, this.”, “okay, this is my figure times by two or times by three.” Then I tell my customers it's going to be this amount, and be firm. Be firm with the amount.
Then if they badger you – badger is the wrong word – but if they do, then you can say, “okay, as this is a personalised item and this is made specifically for you and your gift, I'm happy to offer 10% discount for two or three or four.” Whatever it is that you decide to do.
The other thing that I wanted to cover this as well, is make sure you get payment before you start, even before you even put the font in and choose your font and before you even put it into Design Space. Before any work starts, get payment first.
The way that you do that is by saying, you know, they might say something like, “oh, can I pay cash on pickup?” and you say, “no, I'm sorry. Unfortunately, as this is a bespoke item for you and this item is personally made for you, we must take payment first.” Sometimes they're like, “no, I don't, I don't want that.” But I've just seen so many people be burned with putting hours into this mug or whatever it is, then the person just doesn't come to pick it up.
Some people do a deposit. You could do 50% now and 50% at pickup, but most people are really, really happy to pay the full amount. So yes, I used to have that line in my saved messages in my phone, and as a note and copy and paste that in because it was such a recurring conversation with customers.
They always understood because once you start sharing all of your time, lapsed footage, all of the process on how you make this one item, they will understand how much work goes into it. So then they will be happy to pay.
This material costing worksheet is in your handout and there is a version with all of this blank. So make sure even if you just print it out and scribble something or have it on your phone, it'll be a thought starter for you on what you need to charge.
If the orders are starting to flow in and you are getting a little bit overwhelmed with, “oh crap, you know, this person needs it by this date” and you know all that, this will help you.
So this is an order tracker that I wish I had when I first started. But essentially it's an Excel spreadsheet with all these different fields and you just fill it. So the customer name, what item is it, what quantity, what design they've chosen, what colour vinyl they've chosen, how much you charge them.
So, for example, if they want to buy five, then you might offer 10% or 15% off. How they paid – some people pay by pay ID, some people, they want to pay cash. Say for example, someone wanted to do the deposit thing that's here.
Whether they're picking it up or whether they're shipping, have that as a tick box or you might have PU for pickup and S for shipping and whether or not it's gone out.
So when it comes Christmas time and you are getting inquiries, hopefully left, right, and center and you know, it all gets a little bit overwhelming, have this sheet somewhere. So even if it's on your phon, and you have something like the Good Notes app or something like that, fill it in. Even if it scribbles, print it out, write it down.
Some people have specific order sheets that they print out and they fill it in. If that works for you, great, but I'm lucky to say that I got really busy really quickly, so I didn't have the – and I'm not a writer person either.
Sometimes, I even got to a stage where I would write down all of my customer's names that I had to do the orders for, and then I'd go back to the Facebook conversation and be like, “what does she order? What does she want?” and that's not an efficient use of time. So learn from me and have something like this to help you.
Again, this is going to be in your workbook, so definitely print it out and use it as you'd like it.
Okay. I talk really fast when I'm really excited, so, I'm sorry.
That is the module I guess. That's the module on fundamentals and starting up a business from nothing and from scratch, and these are the bare minimum things that you need. The next modules are going to go through social media, marketing, how to build a community, you know what to do next, all of that.
I'm really, really excited for you. So, let me know if you have any questions. Jump into the Facebook group. I'm always in there hovering, and I'm there to answer any questions that you would like. So I'll see you there!

Comments
Netty —
I’d love a copy of the worksheet too, please :)
Jayd Daly —
I would love a copy of this worksheet
Please and thank you