All about Snow Globe Tumblers and Mugs
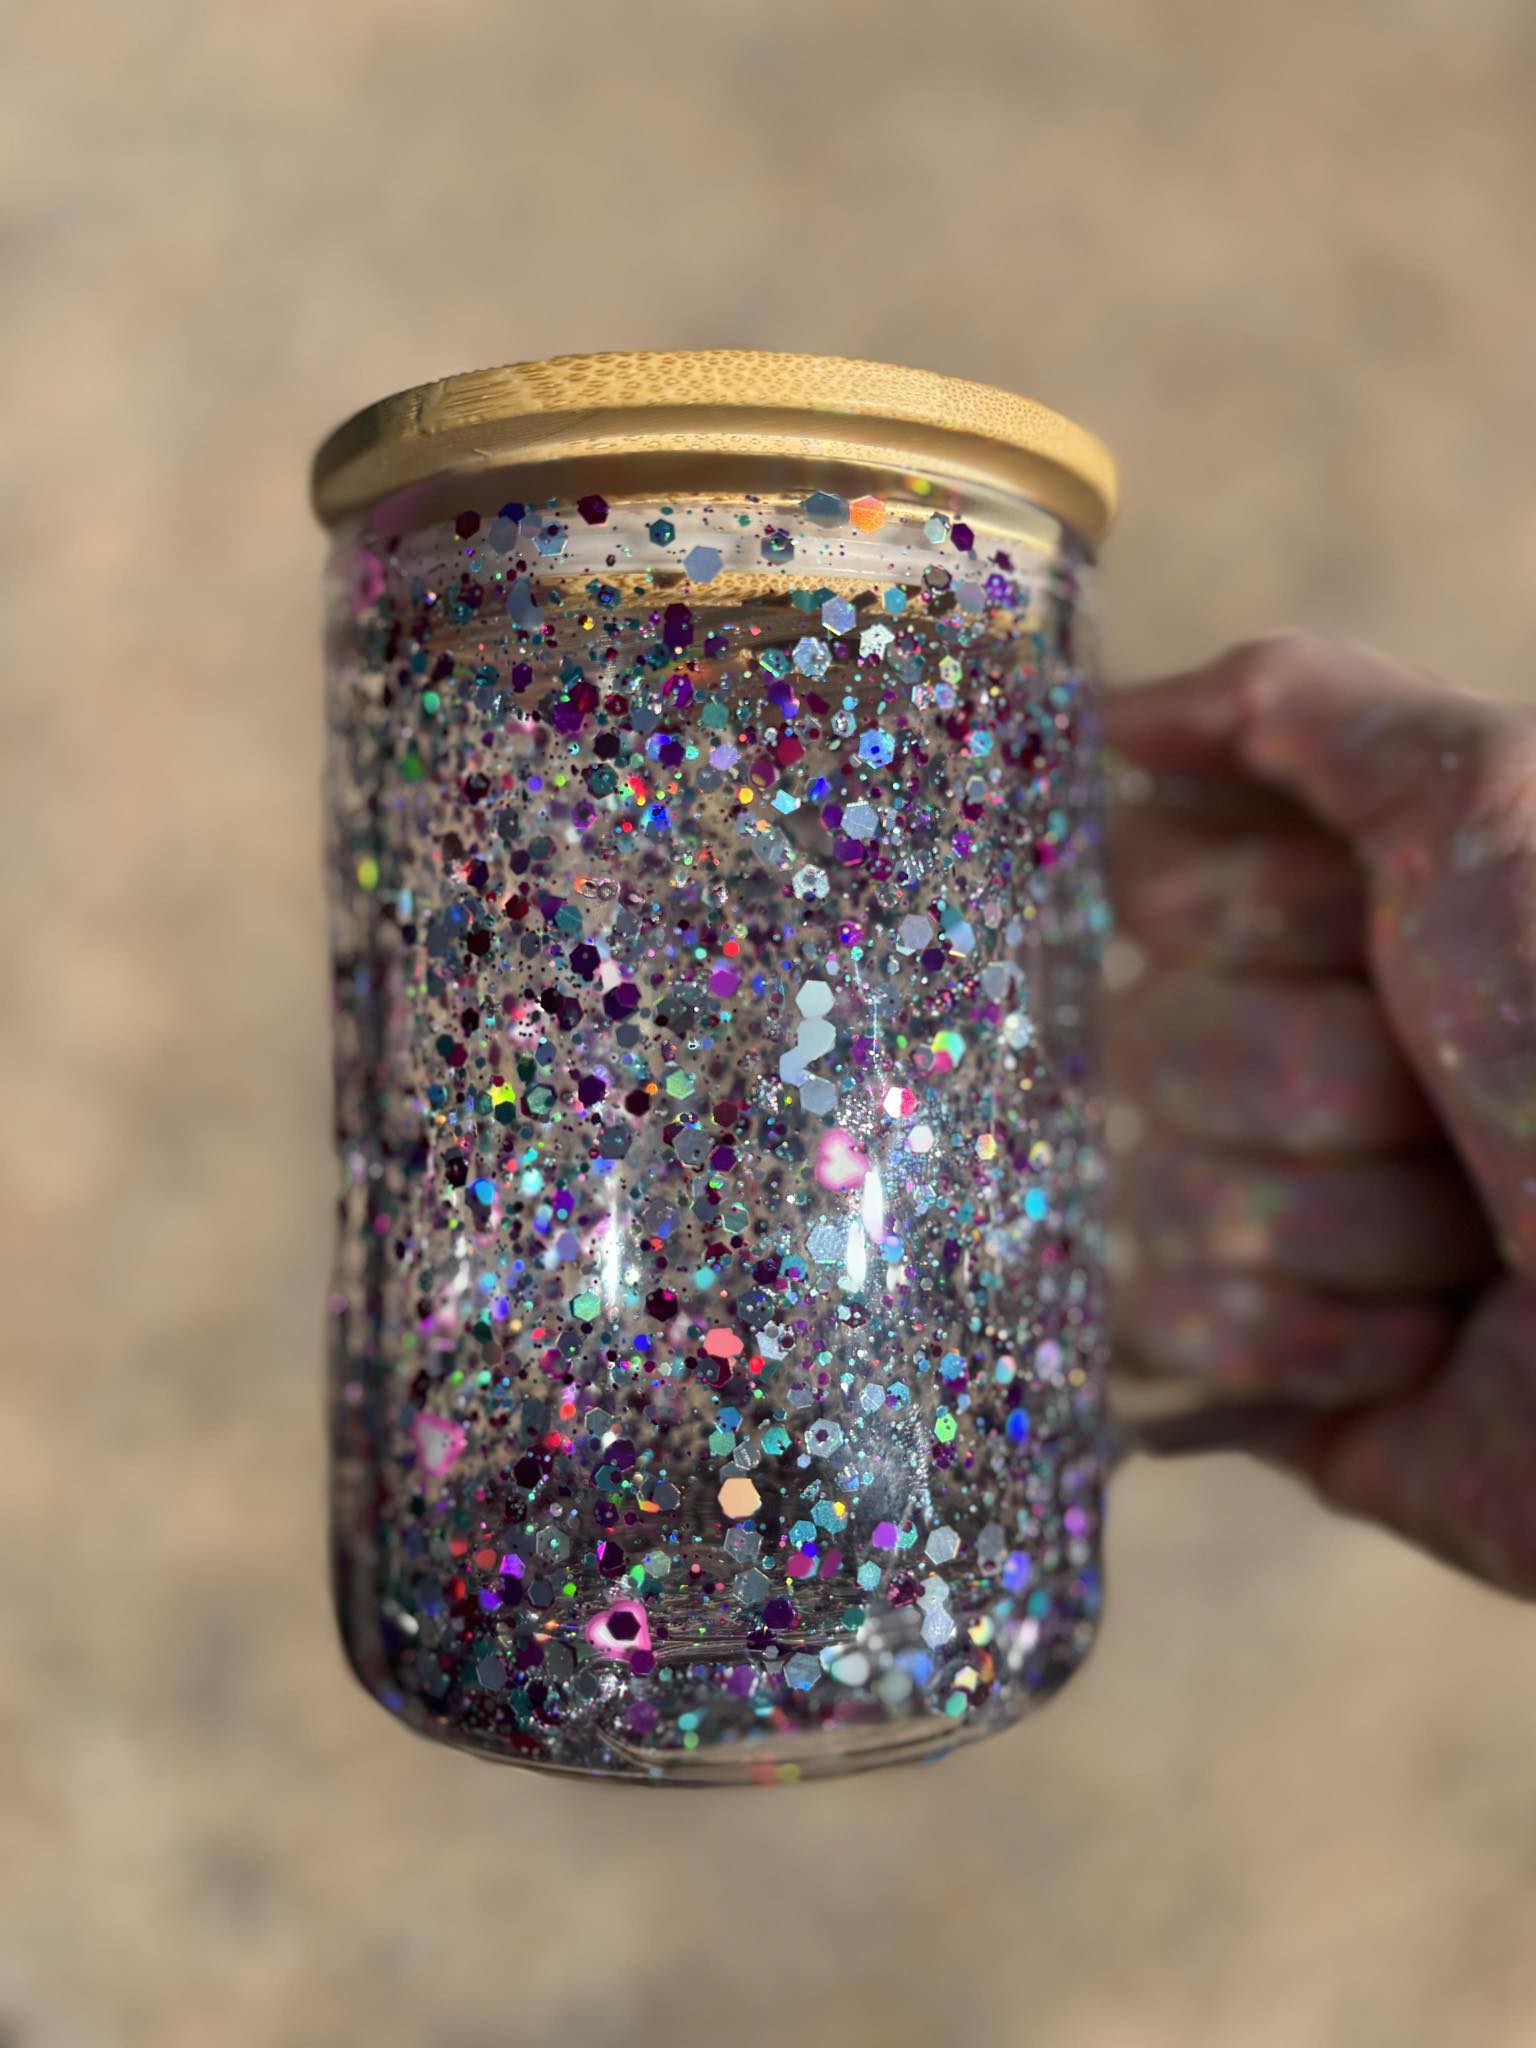
Welcome to Kym's masterclass on crafting Snowglobe tumblers and mugs, a unique and intricate project that has become a staple at her market stalls. In this blog, we'll dive into the creative process behind these captivating creations, from the initial concept to the final, sparkling product. Whether you're a seasoned crafter or just starting out, Kym's insights and step-by-step guidance will inspire you to explore the possibilities of these delightful designs. Join us as we uncover the magic behind making your own snowglobe tumblers and mugs, perfect for personal use or as standout gifts.
Here is a list of materials you will need:
Snowglobe Material List
1. Snowglobe mug
2. Distilled water (not ionised water – it is not the same thing). I buy mine at our local IGA
3. Suspended flow (glitter hardly moves) – Elmers Magic Liquid 1L bottle (you can use the small Elmers magic liquid you can buy at coles but the result will be different to mine – they are a different formulation)
Slow flow (glitter visibly moves at a slow pace) – Vegetable glycerin/Clear glue – I use Elmer’s but there is a lot of generic clear glue online. One of the biggest Tiktok snowglobe people uses the generic amazon clear glue with amazing results.
Fast flow (glitter moves to the bottom of the cup quite quickly after shaking)– Clear glue.
4. Glitter – I use glitter mixes that have chunky and fine glitter but they do move at different rates in the solution. If you want it to flow the same buy just one size of glitter for your cup.
5. UV Resin – I use one from Amazon called JDiction. Nat recommend Poppys which is sold by craftonline but also by B’s Glittler World.
6. Rubbing/isopropyl alcohol
Essential Tools
1. Squeeze bottle – I started out using a small sauce bottle but there is now squeeze bottles that have an angled spout which makes filling easier. People say they find them at local cheap shops but I don’t have one of those within 1200km so not sure. I got my angled ones from Ebay and Temu.
2. UV light to set the resin. There is small businesses selling UV torches in their snowglobe kits but I have an old school nail salon style UV lamp. https://www.justresin.store/products/ultra-violet-led-torch-uv-resin-curing-torch
https://www.ebay.com.au/itm/225479996272
3. Sandpaper - https://www.bunnings.com.au/flexovit-115mm-x-1m-80-grit-no-clog-sandpaper-roll_p0341666
Non essential tools that make things easier
1. Tiny funnel (I don’t use one but many will prefer to)
2. A syringe with blunt needle (need to bend needle with pliers after purchase) These syringe types are used to fill printer ink, vapes apparently. They are available readily on ebay/temu/vape supply stores online.
3. Tiny spray bottle for alcohol – makes cleaning base of glass easier, makes breaking surface tension of solution easer. It just helps.
Resin Safety Considerations
1. Well ventilated space
2. Mask if you have respiratory issues – check what would suit your needs best. I use one from bunnings when doing a lot of resin. https://www.bunnings.com.au/3m-disposable-painters-plus-respirator-2-pack_p0420934
3. Nitrile gloves – you don’t actually have to touch the resin when sealing but UV resin makes my hands very dry without touching them.



Comments